Here's an example of a tube swap. This documents a successful tube swapping by James Sweet <jamessweet@hotmail.com>. Selectign images will show you a larger image.
Another tubeswap page: Garrett Sloan Tube Swap
Always DISCHARGE tubes before working on monitors.
 |
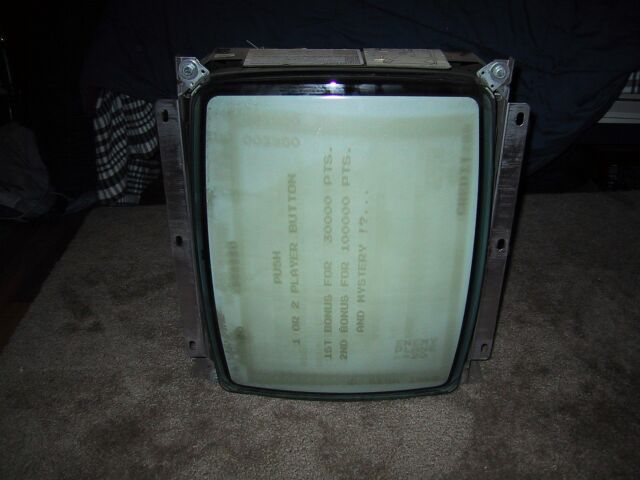 |
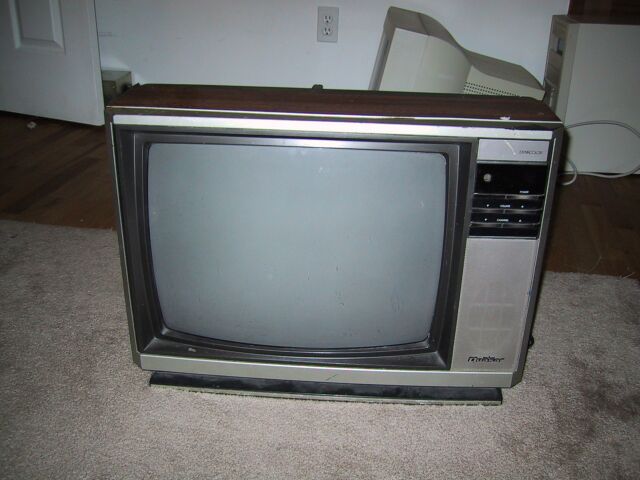
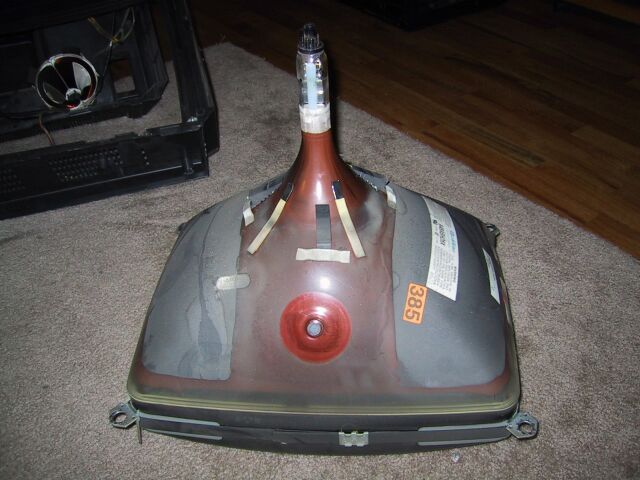
| 1. This is the TV the tube came from. It is a good example of the type of set to look for, early to mid 80's manufacture, 19", not really worth anything even working so they're not hard to find for free when they're dead. | 2. The monitor as recieved, the tube has severe phosphor burn and an intermittant heater to red cathode short. |
 |
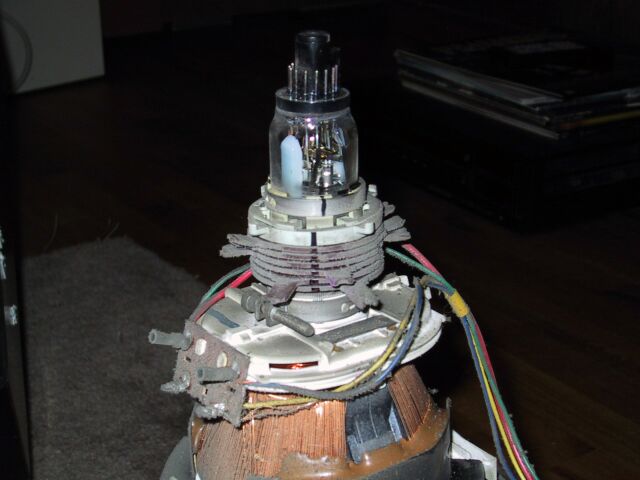 |
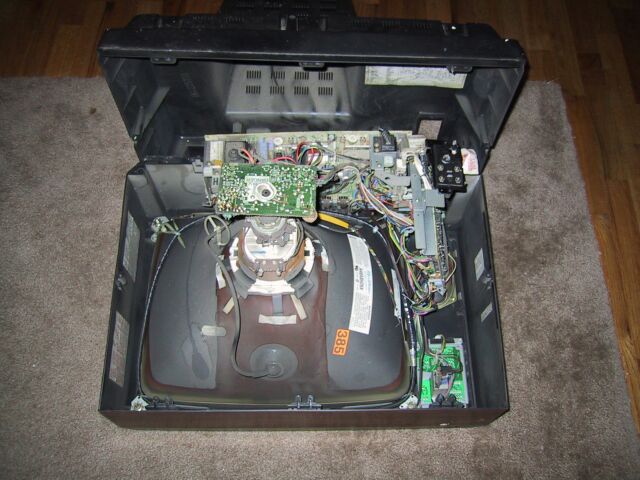
| 3. This is the inside of the TV. | 4. The purity rings on the TV tube, showing the markings made with black pen to enable them to be reinstalled in the exact position they were in. |
 |
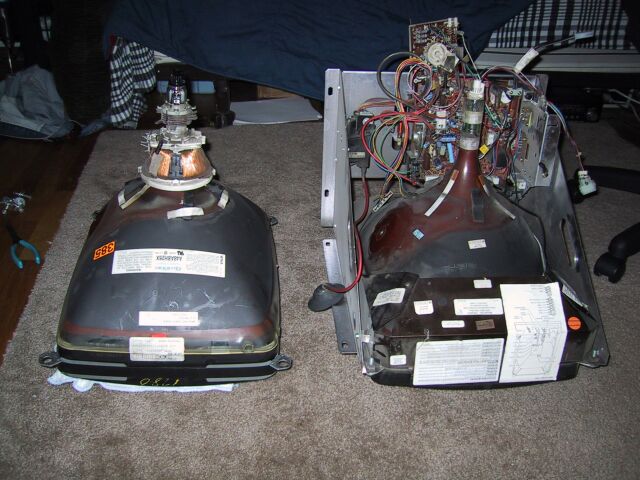 |
| 5. Tube removed from the TV. Removed the purity rings, yoke, ground strap, degaussing coil and any other hardware. | 6. The yoke from the monitor moved over to the TV tube and the original purity rings are reinstalled. |
 |
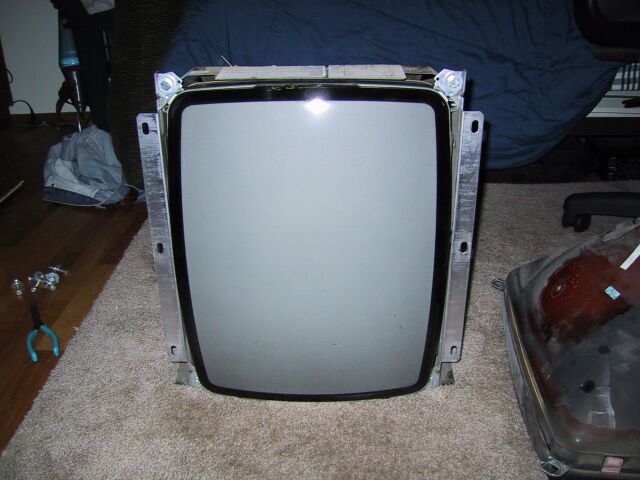 |
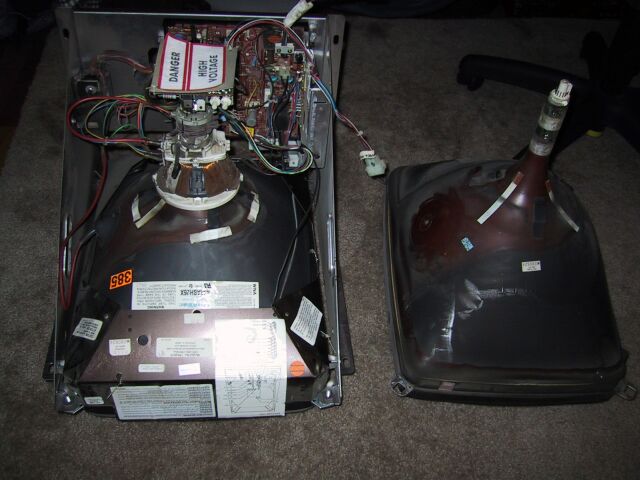
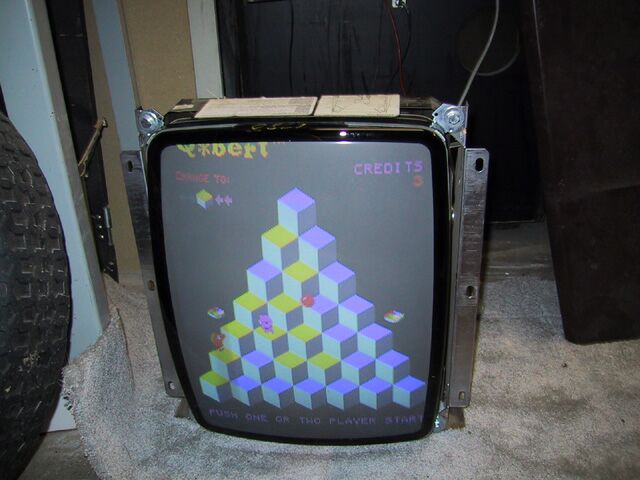
| 7. The monitor frame bolted up to the TV tube and the wiring connected. Any hardware such as a ground strap and degaussing coil that were on the monitor are moved to the new tube. | 8. The now completely burn-free monitor. |
 |
|
| 9. The finished monitor. | |
Once the swap is done it's nessesary to align the yoke. It helps if you have a game that can produce solid red, green, and blue screens as well as a crosshatch.
Set the monitor on something solid and power it up, you should have a picture but it will likely be crooked and the colors screwy. Degauss the tube, preferably with an external degaussing coil. Take care not to move the monitor while adjusting it, if you do you'll need to degauss it again or the earth's magnetic field will screw up your adjusment.
Display a solid green screen and slide the yoke back until it hits the purity rings then slowly slide it forward until the color is uniform. Rotate it to get the raster level, then tighten the yoke clamp. Display solid blue and red screens and adjust the yoke as nessesary to obtain good purity.
Now display the crosshatch and tilt the front of the yoke up and down to adjust convergence in one direction and side to side for the other. When you have it as good as you can get it, install the rubber wedges and secure them with a blob of caulking or hot glue.
Follow up by displaying color bars and adjust the RGB drive and bias controls on the neck board to obtain proper color balance. The manual for any color monitor should contain fairly detailed instructions for doing this.